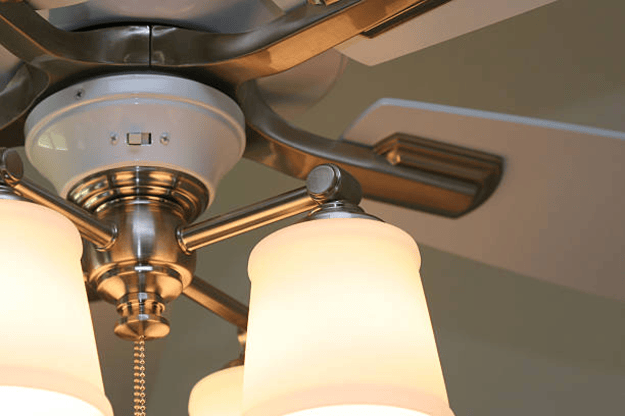
Ceiling fans are not only an attractive addition to any room but also a practical solution for maintaining a comfortable temperature throughout your home. With energy efficiency and cost savings on cooling and heating, a properly installed fan is a smart investment.
This DIY guide is designed to help homeowners confidently tackle ceiling fan installation without the need for professional help.
By following these detailed instructions and safety precautions, you’ll be able to enjoy the benefits of your new fan in no time.
Tools and Materials You’ll Need

Before you begin, make sure you have the following tools and materials on hand:
- Ladder or Step Stool: To safely reach the installation area.
- Screwdrivers (flathead and Phillips): For removing fixtures and securing components.
- Drill and Drill Bits: For creating pilot holes.
- Wire Strippers/Cutters: To prepare wires for connection.
- Voltage Tester: To ensure the power is off.
- Ceiling Fan Installation Kit: Often included with the fan, containing mounting brackets and hardware.
- Electrical Tape and Wire Connectors: For safe electrical connections.
- Protective Gear: Such as safety glasses and gloves.
Step-by-Step Ceiling Fan Installation Guide
1. Plan and Prepare
- Review the Manual: Read the ceiling fan’s installation manual thoroughly to familiarize yourself with the parts and specific instructions.
- Turn Off the Power: Locate your home’s circuit breaker and turn off the power to the existing fixture or the area where you’ll be installing the fan. Use a voltage tester to confirm that the wires are not live.
2. Remove the Existing Fixture (if applicable)
- Carefully remove the old light fixture or fan by unscrewing the mounting hardware. Disconnect the wiring, noting which wires connect where. Keep all hardware in case it can be reused.
3. Inspect the Electrical Box
- Ensure that the ceiling electrical box is rated for ceiling fans. A fan-rated box is designed to support the fan’s weight and the dynamic forces generated during operation. If the box isn’t rated for a ceiling fan, consult with an electrician to upgrade it.
4. Install the Mounting Bracket
- Attach the mounting bracket provided in your installation kit to the electrical box. Secure it tightly using the provided screws, ensuring it is aligned properly. This bracket is essential for supporting the fan’s weight.
5. Assemble the Fan Components
- Assemble any parts of the ceiling fan that can be put together on the ground, such as the motor housing and downrod (if included). This makes it easier to manage the installation once the fan is suspended from the ceiling.
6. Wiring the Fan
- Connect the Wires: With the power still off, connect the fan’s wires to the house wiring. Typically, this involves connecting black (hot) wires, white (neutral) wires together, and green or bare (ground) wires.
- Secure with Wire Connectors: Twist the wires together and secure them with wire connectors. Wrap the connections with electrical tape for extra safety.
- Double-check the Connections: Ensure that all wire connections are secure and that there are no exposed wires.
7. Attach the Fan to the Mounting Bracket
- Lift the assembled fan and attach it to the mounting bracket. Secure it with the provided screws or bolts, ensuring that the fan is stable and level.
8. Install the Fan Blades
- Attach each fan blade to the fan motor using the screws provided. Check that all blades are evenly spaced and securely fastened to prevent wobbling during operation.

9. Final Assembly and Testing
- Once the fan and blades are securely attached, restore power at the circuit breaker.
- Test the Fan: Turn on the fan using the wall switch or remote control (if applicable). Listen for any unusual sounds and observe the fan for any wobbling. If adjustments are needed, tighten the screws or balance the fan blades accordingly.
FAQs
Q1: Can I install a ceiling fan myself, or should I hire an electrician?
A: If you have basic DIY skills and are comfortable working with electrical wiring, you can follow this guide to install a ceiling fan yourself. However, if you’re unsure or encounter any complications, it’s best to consult a licensed electrician for safety reasons.
Q2: What should I do if the fan wobbles after installation?
A: A wobbling fan can result from unbalanced blades or loose mounting. First, check that each blade is securely attached and evenly spaced. Many ceiling fans also come with a balancing kit to help correct minor imbalances.
Q3: How long does the installation process usually take?
A: For most DIYers, the process can take between 2 to 3 hours, depending on your familiarity with electrical work and the complexity of the installation.
Q4: What if my existing electrical box isn’t rated for a ceiling fan?
A: It is crucial to have a fan-rated electrical box to safely support the weight and motion of the ceiling fan. If your current box isn’t rated, you should upgrade it or have an electrician handle the installation to prevent potential hazards.
Q5: Can I install a ceiling fan in any room?
A: Ceiling fans work well in most rooms, but you should consider the room size, ceiling height, and specific fan design. For example, larger rooms may require fans with longer downrods or additional balancing.
Conclusion
Installing a ceiling fan is a rewarding DIY project that not only enhances the aesthetics of your space but also provides improved air circulation and energy savings. By following this detailed guide—from preparing your tools and workspace, ensuring electrical safety, to assembling and testing your fan—you can achieve a professional-quality installation. Remember to consult your fan’s manual for specific instructions and don’t hesitate to seek professional help if needed. Enjoy the comfort and style that your new ceiling fan brings to your home!

